Practice and understand · Lesson 6 of 11
The Feynman Technique: Explain It in Plain Words
Learn to explain an idea aloud in plain words, as if to a beginner, to find the gaps in what you understand and fix them.
 Video coming soon
Explaining an idea in plain words is a quick way to find out what you truly understand, and what you only think you understand. In this lesson you will learn a simple four-step method: study, explain it aloud, find the gaps, and explain it again.
The idea: explain it to a beginner
This method is often called the Feynman technique, after the physicist Richard Feynman, who was known for explaining hard ideas plainly. You explain a topic out loud, as if to a complete beginner: a new colleague, a friend from another field, or a curious teenager. Every place where your explanation stalls shows you what to study next.
 (opens the full-size picture)
The feeling of knowing
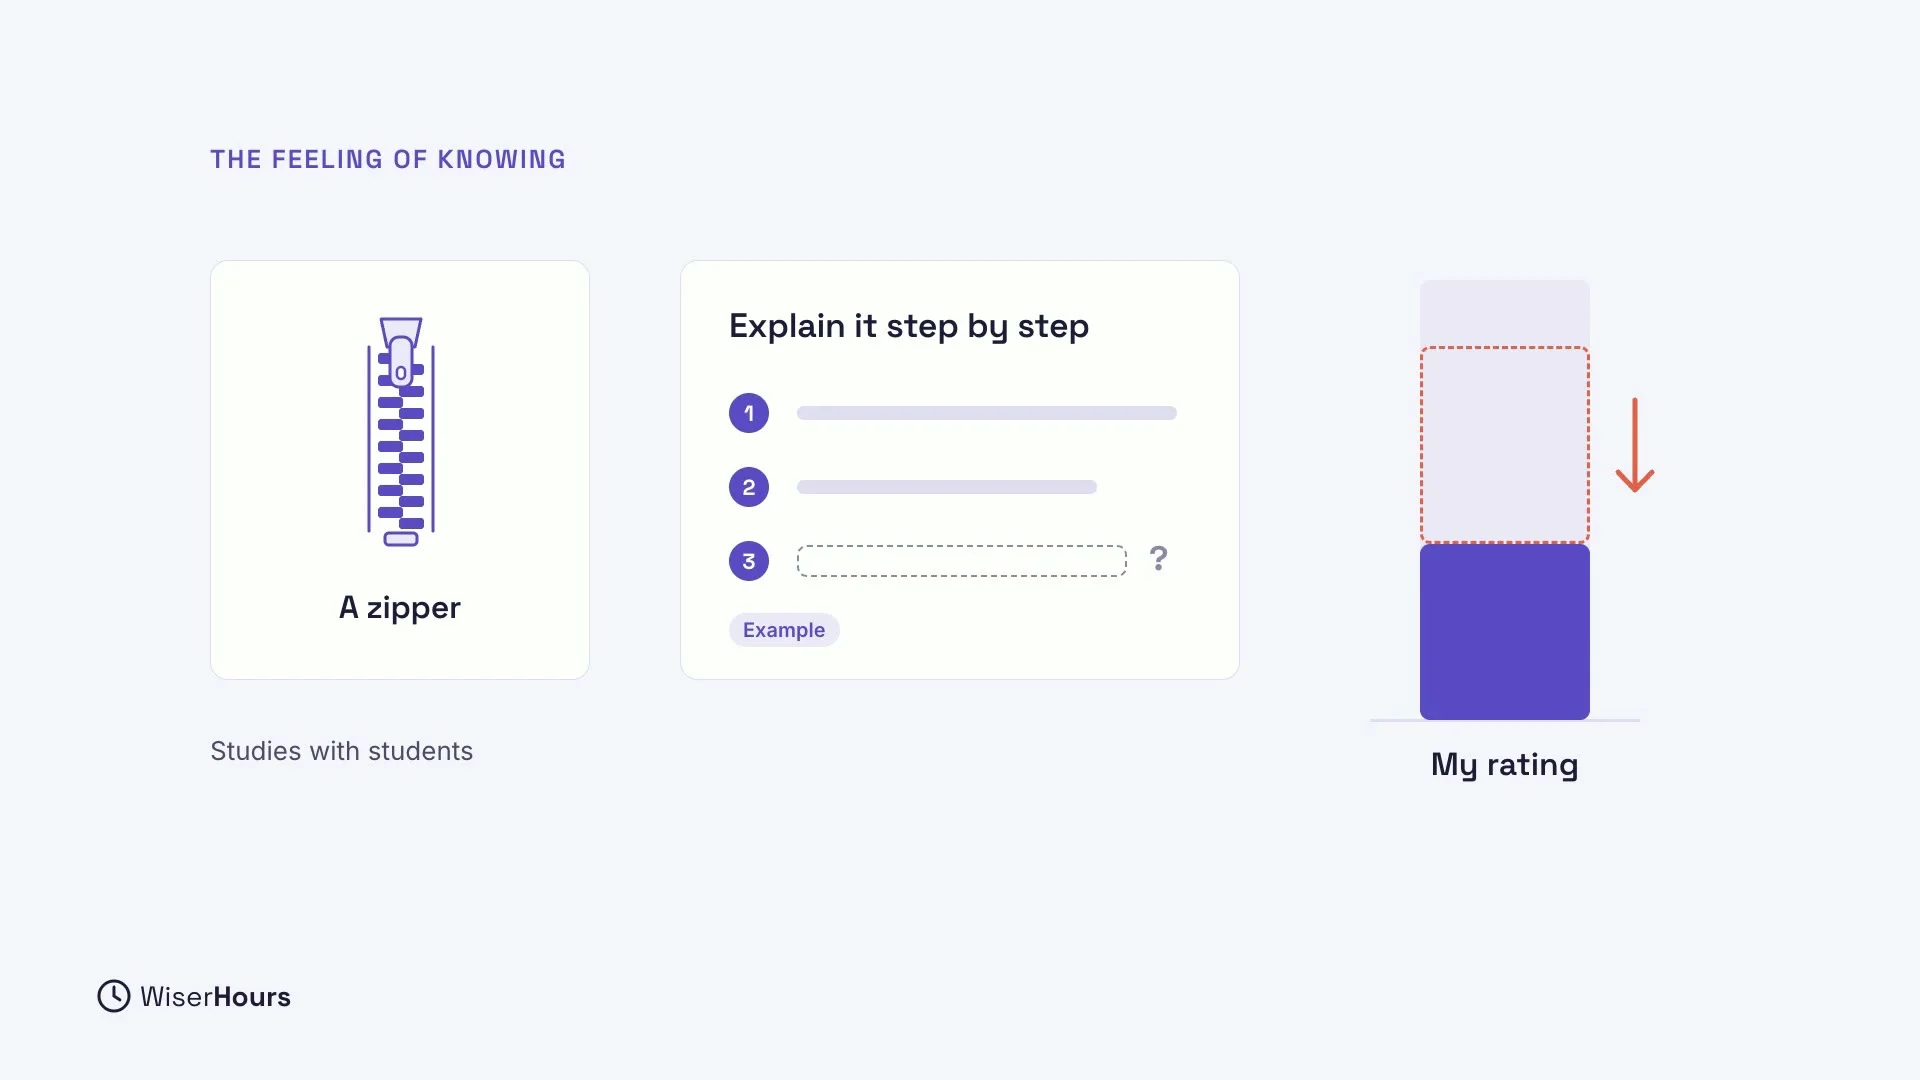
People often feel they understand how things work better than they do. In one set of studies, students rated how well they understood everyday things, like a zipper or a toilet’s flush. Then they tried to explain, step by step, how each one works. After trying, their ratings fell, and many were surprised at how little they could explain.
The effect was much weaker for simple facts, like capital cities. It was strongest for how things work.
 (opens the full-size picture)
Naming is not explaining
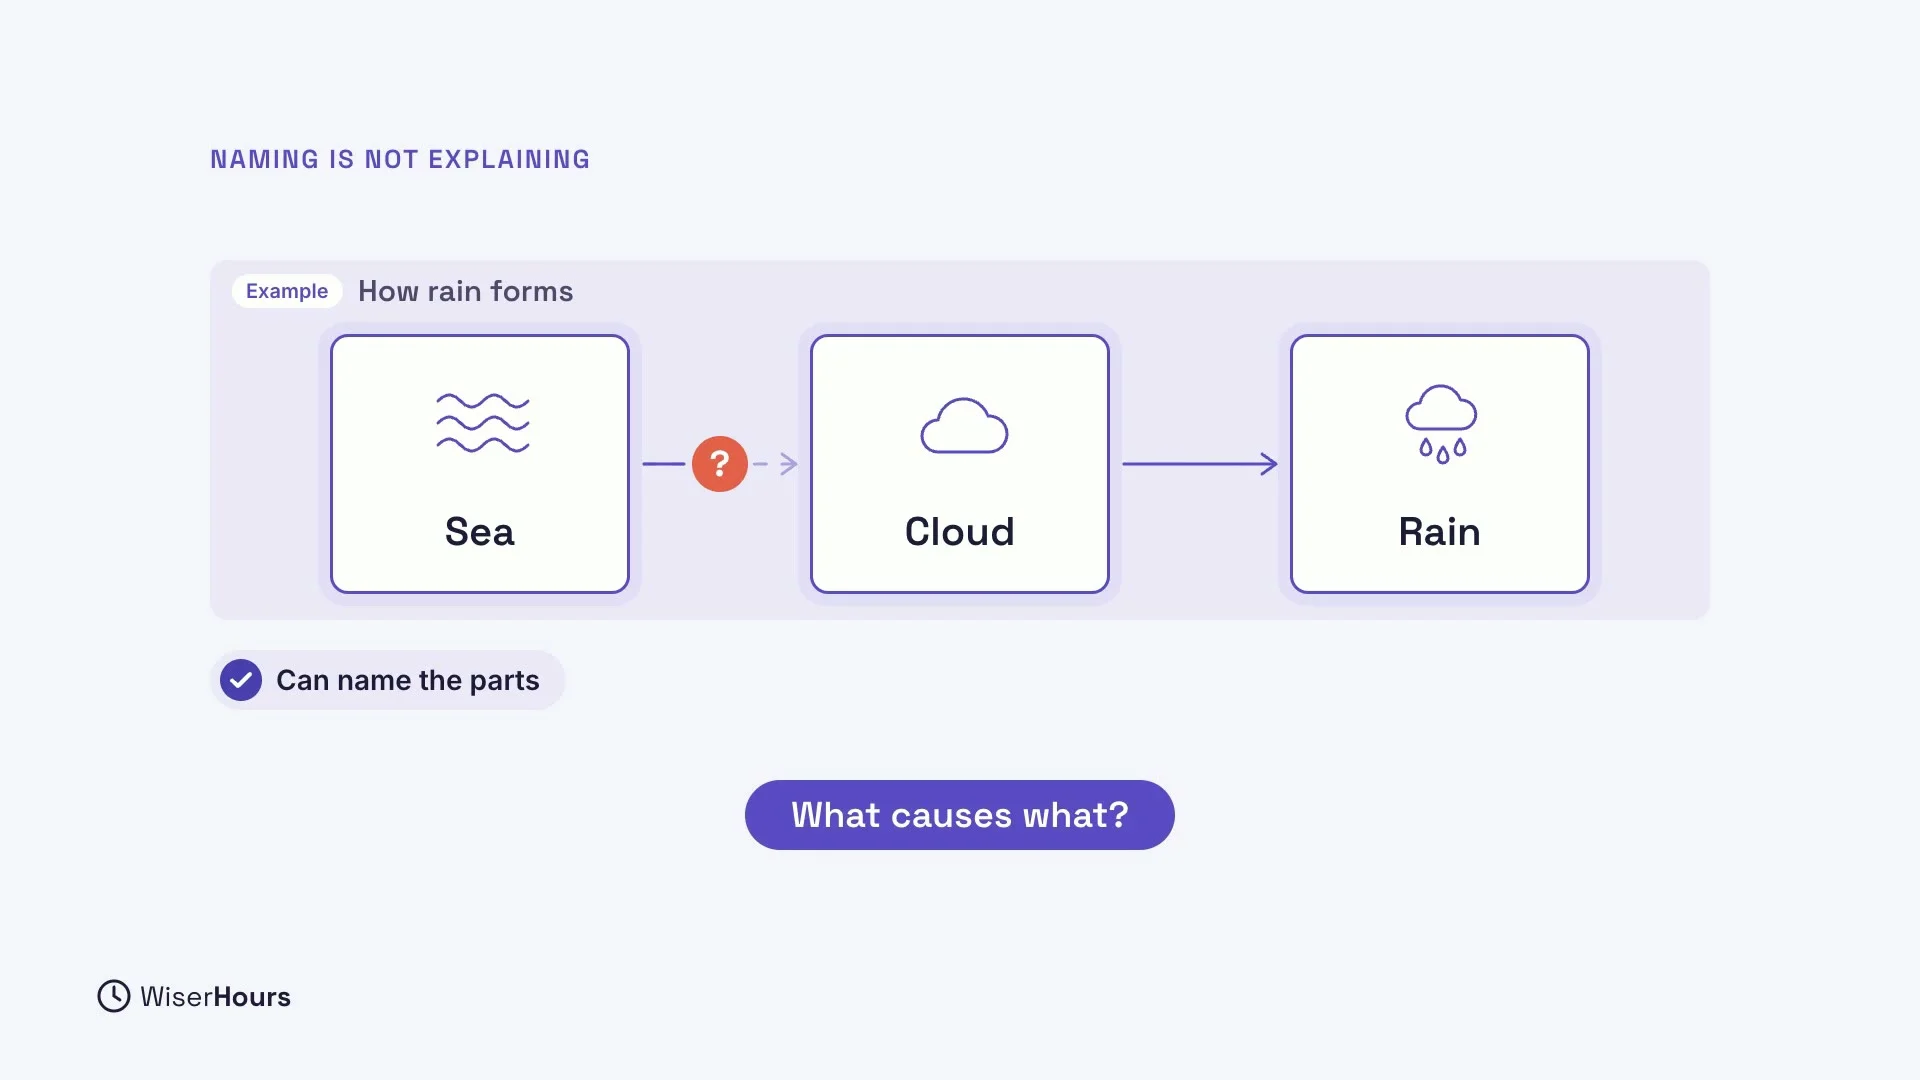
Recognizing a topic is not the same as being able to explain it. What feels familiar can feel learned. Naming the parts is easy. Saying what causes what, in order, is where the gaps show.
For example, you might know that rain has something to do with the sea and clouds. But can you say how the water gets from the sea into the cloud?
 (opens the full-size picture)
Steps 1 and 2: study it, then explain it aloud
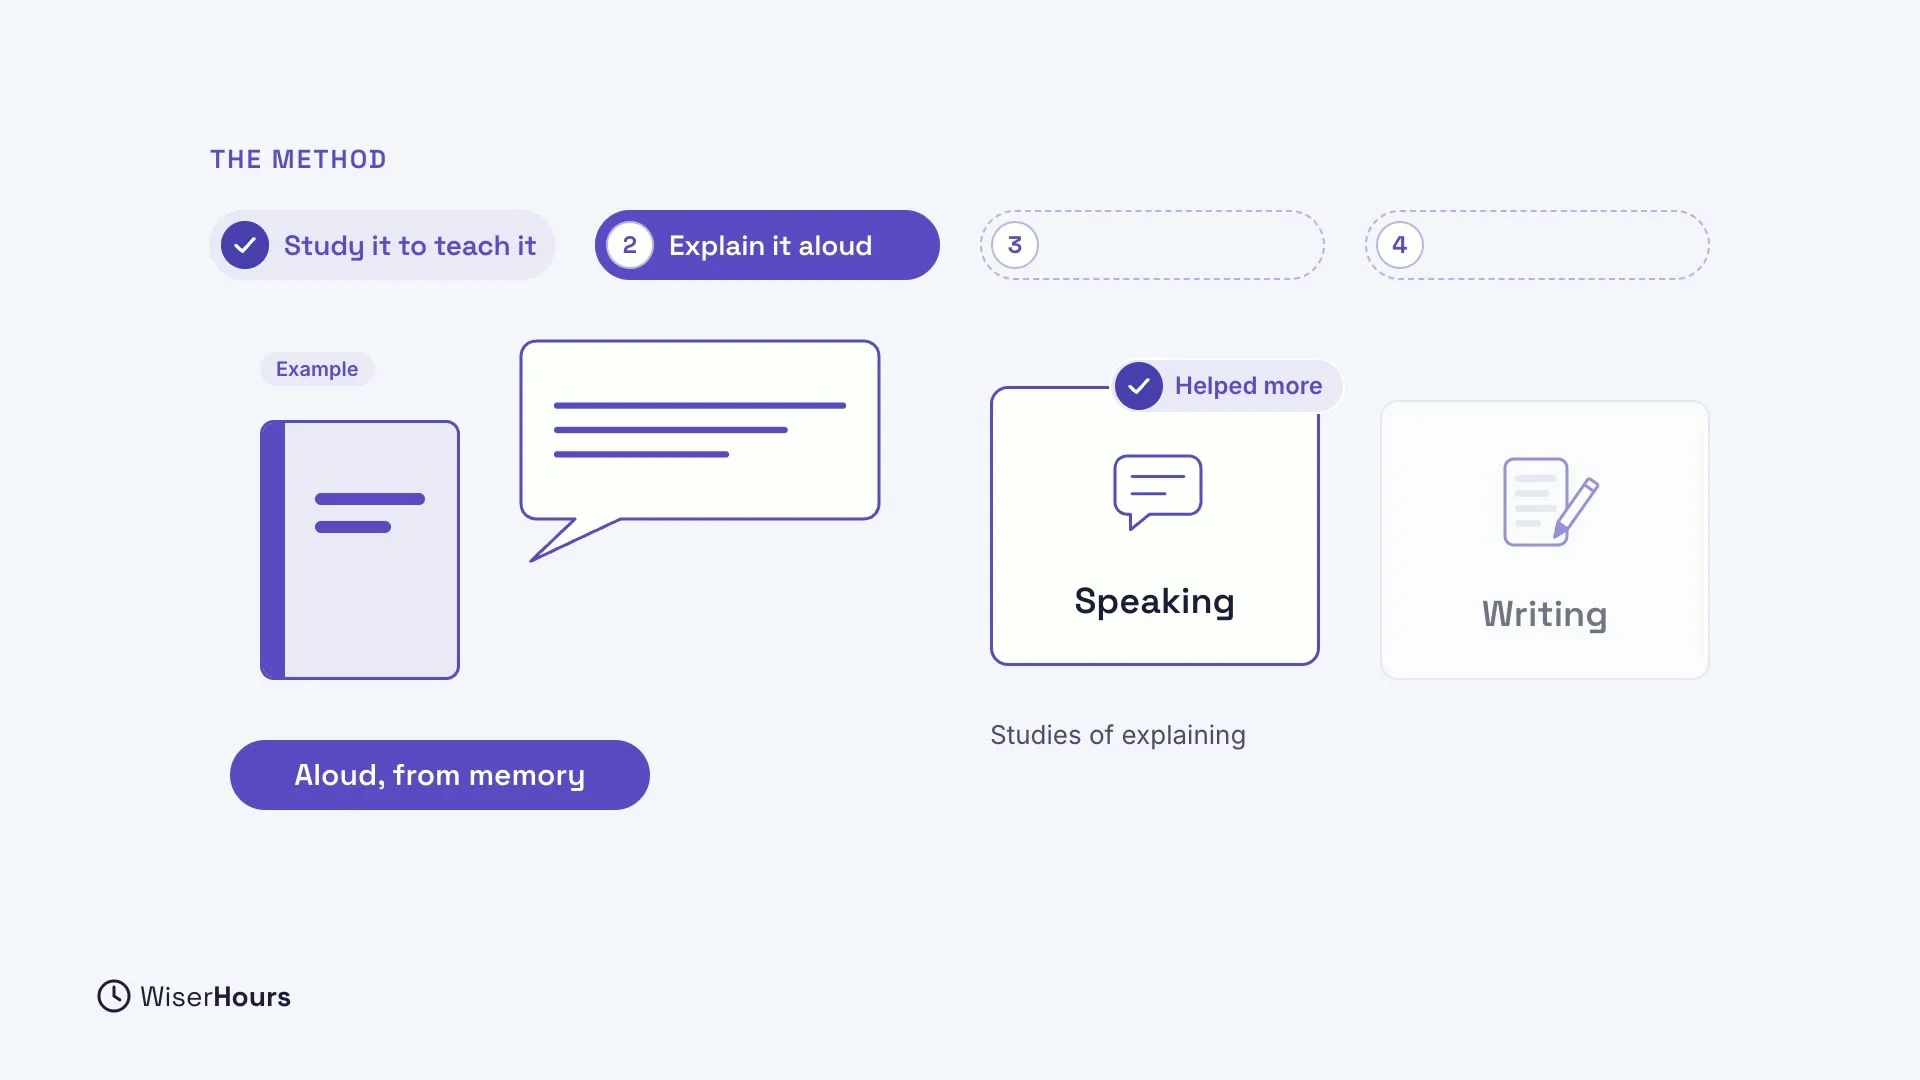
First, study the topic, knowing you will have to explain it. In studies, simply expecting to teach helped people learn, even before any teaching happened.
Then close your notes and explain it aloud, from memory. Recording a voice memo on your phone can help you listen back later. In studies, speaking tended to help more than writing, and explaining with your notes open is closer to rereading than to learning.
 (opens the full-size picture)
Step 3: find the gaps
Then think back, or listen back. Notice the moments where you:
- hesitated, or lost your thread,
- used a word you could not unpack into simpler words,
- skipped a step without saying why it follows.
Those are your gaps. Reopen the material for those parts only, not the whole chapter.
 (opens the full-size picture)
Step 4: explain it again, more simply
Then explain it again, more simply, with an example of your own. Plain words matter, because a technical term can hide an idea you have not really understood. Everyday language makes you spell out the missing link.
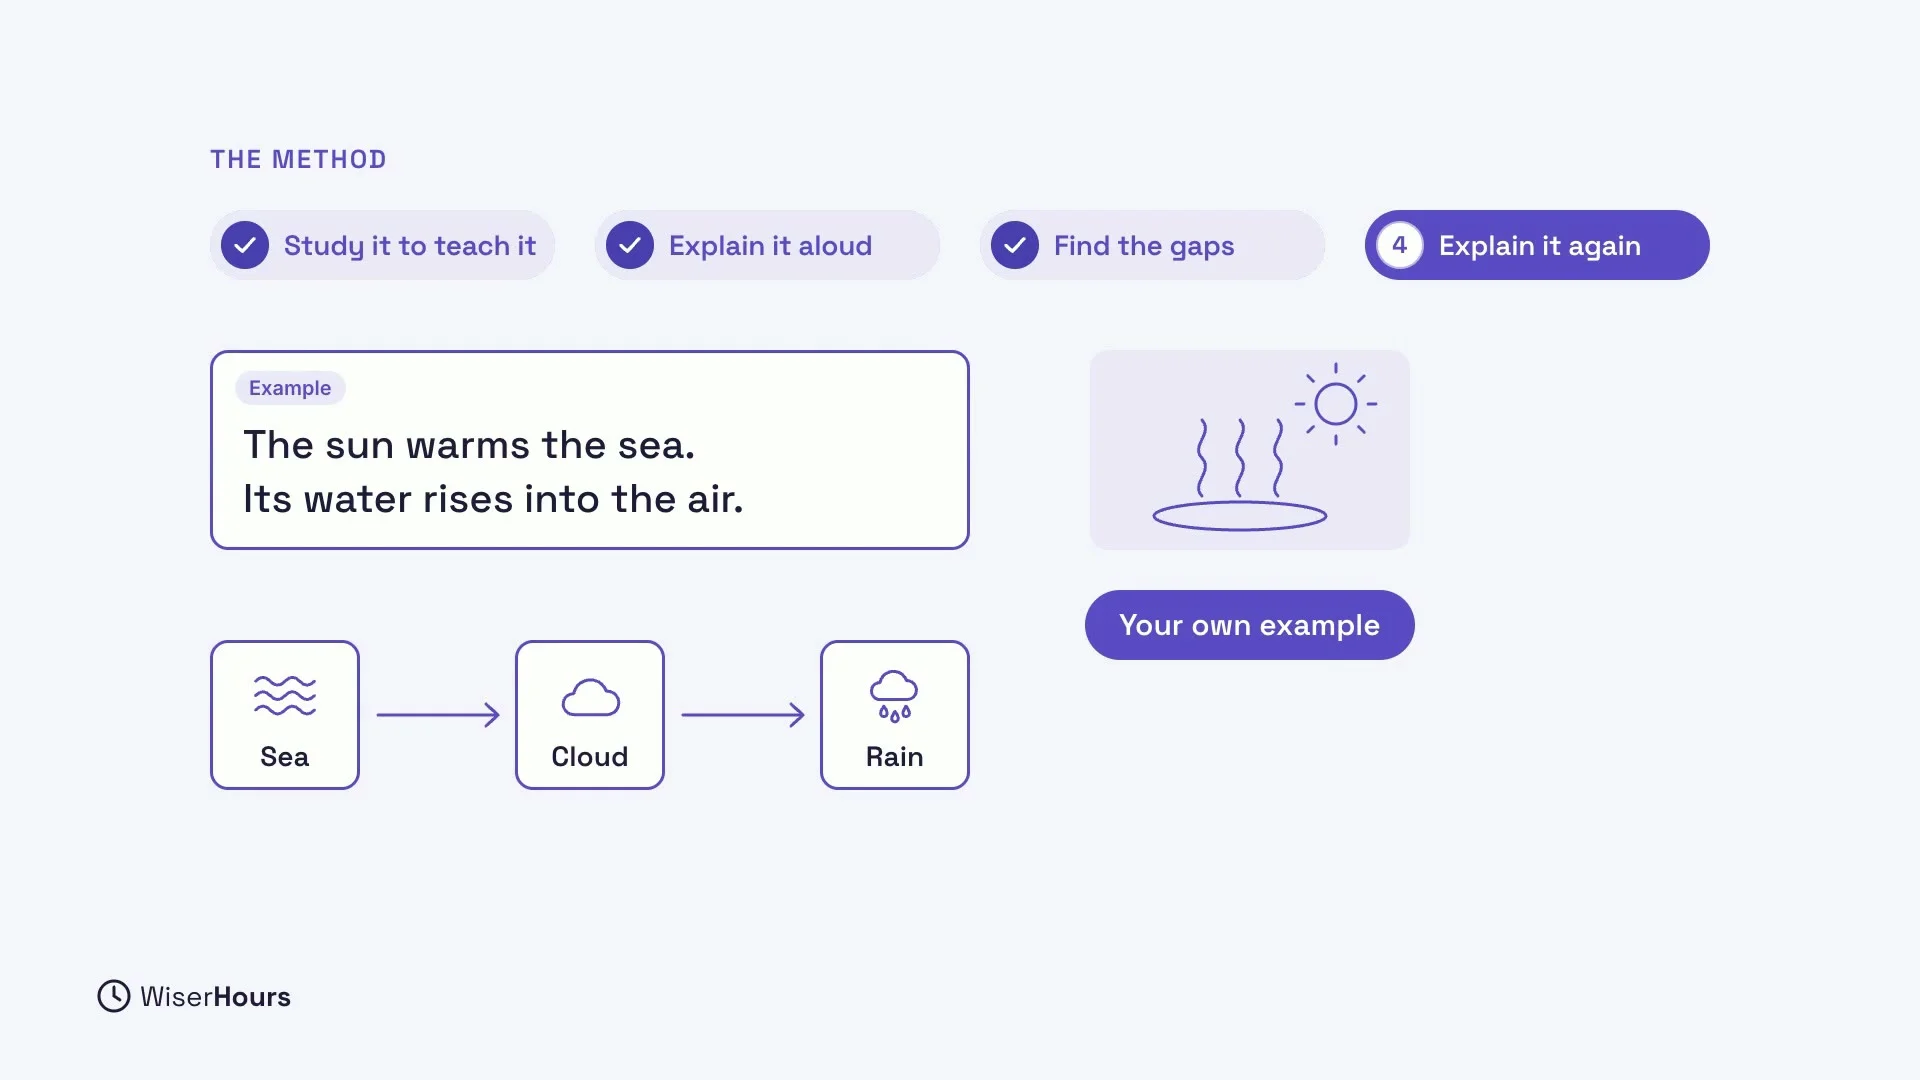
In the rain example, the second try might sound like this: “The sun warms the sea. Its water rises into the air.” Now the link from sea to cloud is spelled out.
 (opens the full-size picture)
When to use it
Use this for how and why ideas you have already studied, like how a process works or why a result holds. For basic facts, such as names or dates, testing yourself is quicker. And don’t use it on a topic you are meeting for the first time: you need something to build the explanation from, so study first.
 (opens the full-size picture)
A fair note
Research on this method is still limited, mostly with students in short lab sessions. Some studies found a benefit and others did not. Explaining aloud, from memory, and then going back to the material is the version with the most support.
YOUR TURN
Read more
- The Feynman Technique: Learn a Topic by Explaining It in Plain Words: the four steps in detail, the research behind them, and when the method is the wrong tool.
- Metacognition Explained: How to Think About Your Own Learning: why your sense of what you know can mislead you, and how to check it.
Read the full lesson script
In this lesson, you will learn to explain an idea in plain words. It is a quick way to find out what you truly understand, and what you only think you understand.
This is often called the Feynman technique, after the physicist Richard Feynman. You explain a topic out loud, as if to a complete beginner. Every place where your explanation stalls shows you what to study next.
People often feel they understand how things work better than they do. In one set of studies, students rated how well they understood everyday things, like a zipper. After trying to explain them step by step, their ratings fell.
Recognizing a topic is not the same as being able to explain it. What feels familiar can feel learned. Naming the parts is easy. Saying what causes what, in order, is where the gaps show.
First, study the topic, knowing you will have to explain it. Then close your notes and explain it aloud, from memory. In studies, speaking tended to help more than writing.
Then think back. Notice where you hesitated, used a word you could not unpack, or skipped a step without saying why. Those are your gaps. Reopen the material for those parts only.
Then explain it again, more simply, with an example of your own. Plain words matter, because a technical term can hide an idea you have not really understood. Everyday language makes you spell out the missing link.
Use this for how and why ideas you have already studied, like how a process works. For basic facts, such as names or dates, testing yourself is quicker. Research on this method is still limited, mostly with students.
So, close the book, explain the idea aloud in plain words, and study the spots where you stall. Today, explain one idea from your topic aloud in two minutes, then fix the weakest part. Next, you will learn to judge what you really know.
MAKE IT A SMALL WIN
Finished this lesson?
Mark it complete to save your progress on this device.